


Last summer, Owen and I decided we wanted to get into re-doing furniture. I had bought this bench at the local thrift store in hopes of redoing it and putting it at the end of our bed. We bought sanding supplies, stain, polyurethane, and a staple gun and started sanding our little hearts away. After only sanding it halfway, Owen started his new job of student-teaching, and so the project got put to the wayside until we had more time.
So, when my sister moved into her apartment last week and mentioned painting some of the furniture she had gotten from my mom or bought from the thrift store (thrifting is a family addiction), I immediately remembered this bench and got the urge to finish it. Instead of staining it like I had originally planned, I decided to make use of the black paint Kelly bought and paint the wooden base, and then re-cover the cushion with this beautiful bright embroidered vintage fabric I had found.
So after getting all the pieces together (I wish I had a full "before" picture), we set up shop in her basement and got to painting. She had bought a satin latex paint that the shop owner had assured her did not need a priming coat before using. It went on really easily and smoothly, and covered the base with one coat only. (Not to future painting self : Do not dry newly painted items on top of newspaper, unless you want it to get stuck into said new paint and have to be scratched off and repainted)


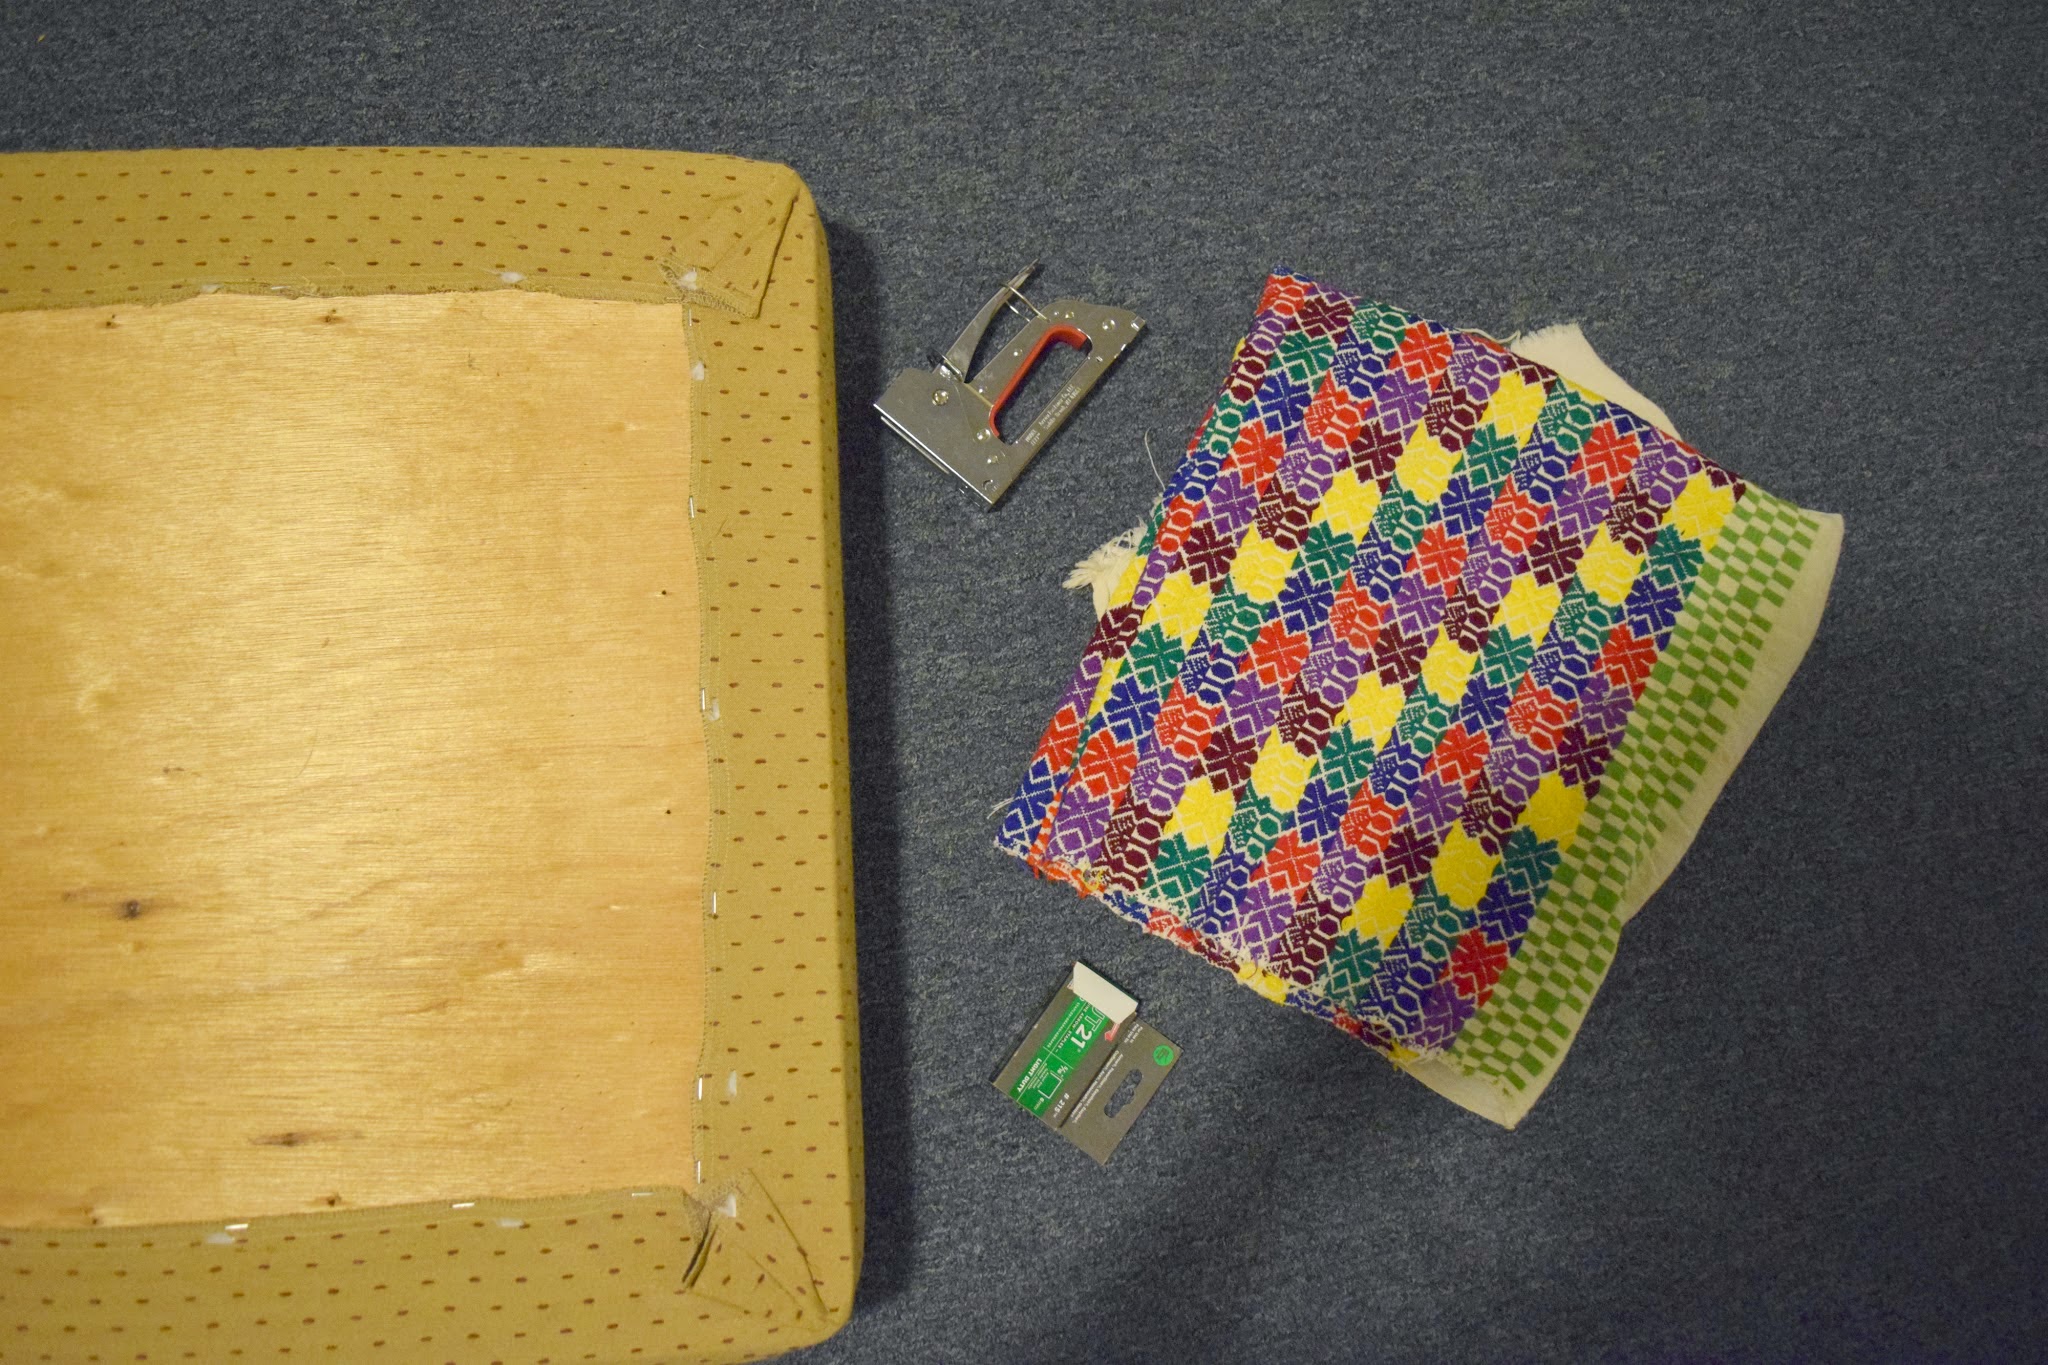
Then, I checked out THIS tutorial before I attempted to reupholster the cushion with my fabric. The corners were a bit, well, feisty. And I by no means did it correctly, so please do not judge! But for my first try at it, I'm pretty happy with the results : )

After the base dried, I reattached the cushion to it with the screws I had saved, and voila!

My sister kicked my butt in painting, and painted a curtain rod, metal plant stand, and corner table base.


It's really amazing what a coat of paint can do for a piece of furniture, and now I have the painting bug! Hopefully this amateur little "how-to" will get you inspired to get working on that project you've been thinking about!

0 comments:
Post a Comment