Farmers' Market Tips


During the summer, Owen and I hit up the Burlington farmers' market every Saturday morning. If its nice out we'll bike there, but this weekend the weather was a little back and forth so we just parked and walked around. It is by far the largest farmers' market I have been to, and the organizers do such a great job of choosing vendors with unique products, with a variety of vendors as well so there's not a ton of the same thing. I swear it gets better every year, and this year I've noticed a lot more food options which is great, as we usually time it so we can grab breakfast / early lunch there. 
As an avid farmers' marketer ( market-goer?), I figured I'd share some tips from what I've learned over the years, just for fun. Hopefully it inspires you to get out there whenever your town's market is and have fun with it!

Tips and more photos after the jump>

Recipes : My Pasta Salad

One of the regular staples Owen and I will have in the fridge each week will be a big batch of our pasta salad. It's such a simple thing to make, and uses mostly ingredients you already have around the house anyways. Whenever I know we are going to have visitors in town I will whip up a batch, because it is usually enjoyed by everyone and can be used for lunch or a BBQ dinner. We'll usually add tuna fish or avocado to give it a little more substance if its the main course, or will just have it as is for a side dish or afternoon snack. There's so many different variations you can make, but I figured I would share my basic recipe here for those interested. It is adapted from Owen's family recipe. 

How To : Re-Do A Thrift Store Bench


Last summer, Owen and I decided we wanted to get into re-doing furniture. I had bought this bench at the local thrift store in hopes of redoing it and putting it at the end of our bed. We bought sanding supplies, stain, polyurethane, and a staple gun and started sanding our little hearts away. After only sanding it halfway, Owen started his new job of student-teaching, and so the project got put to the wayside until we had more time.

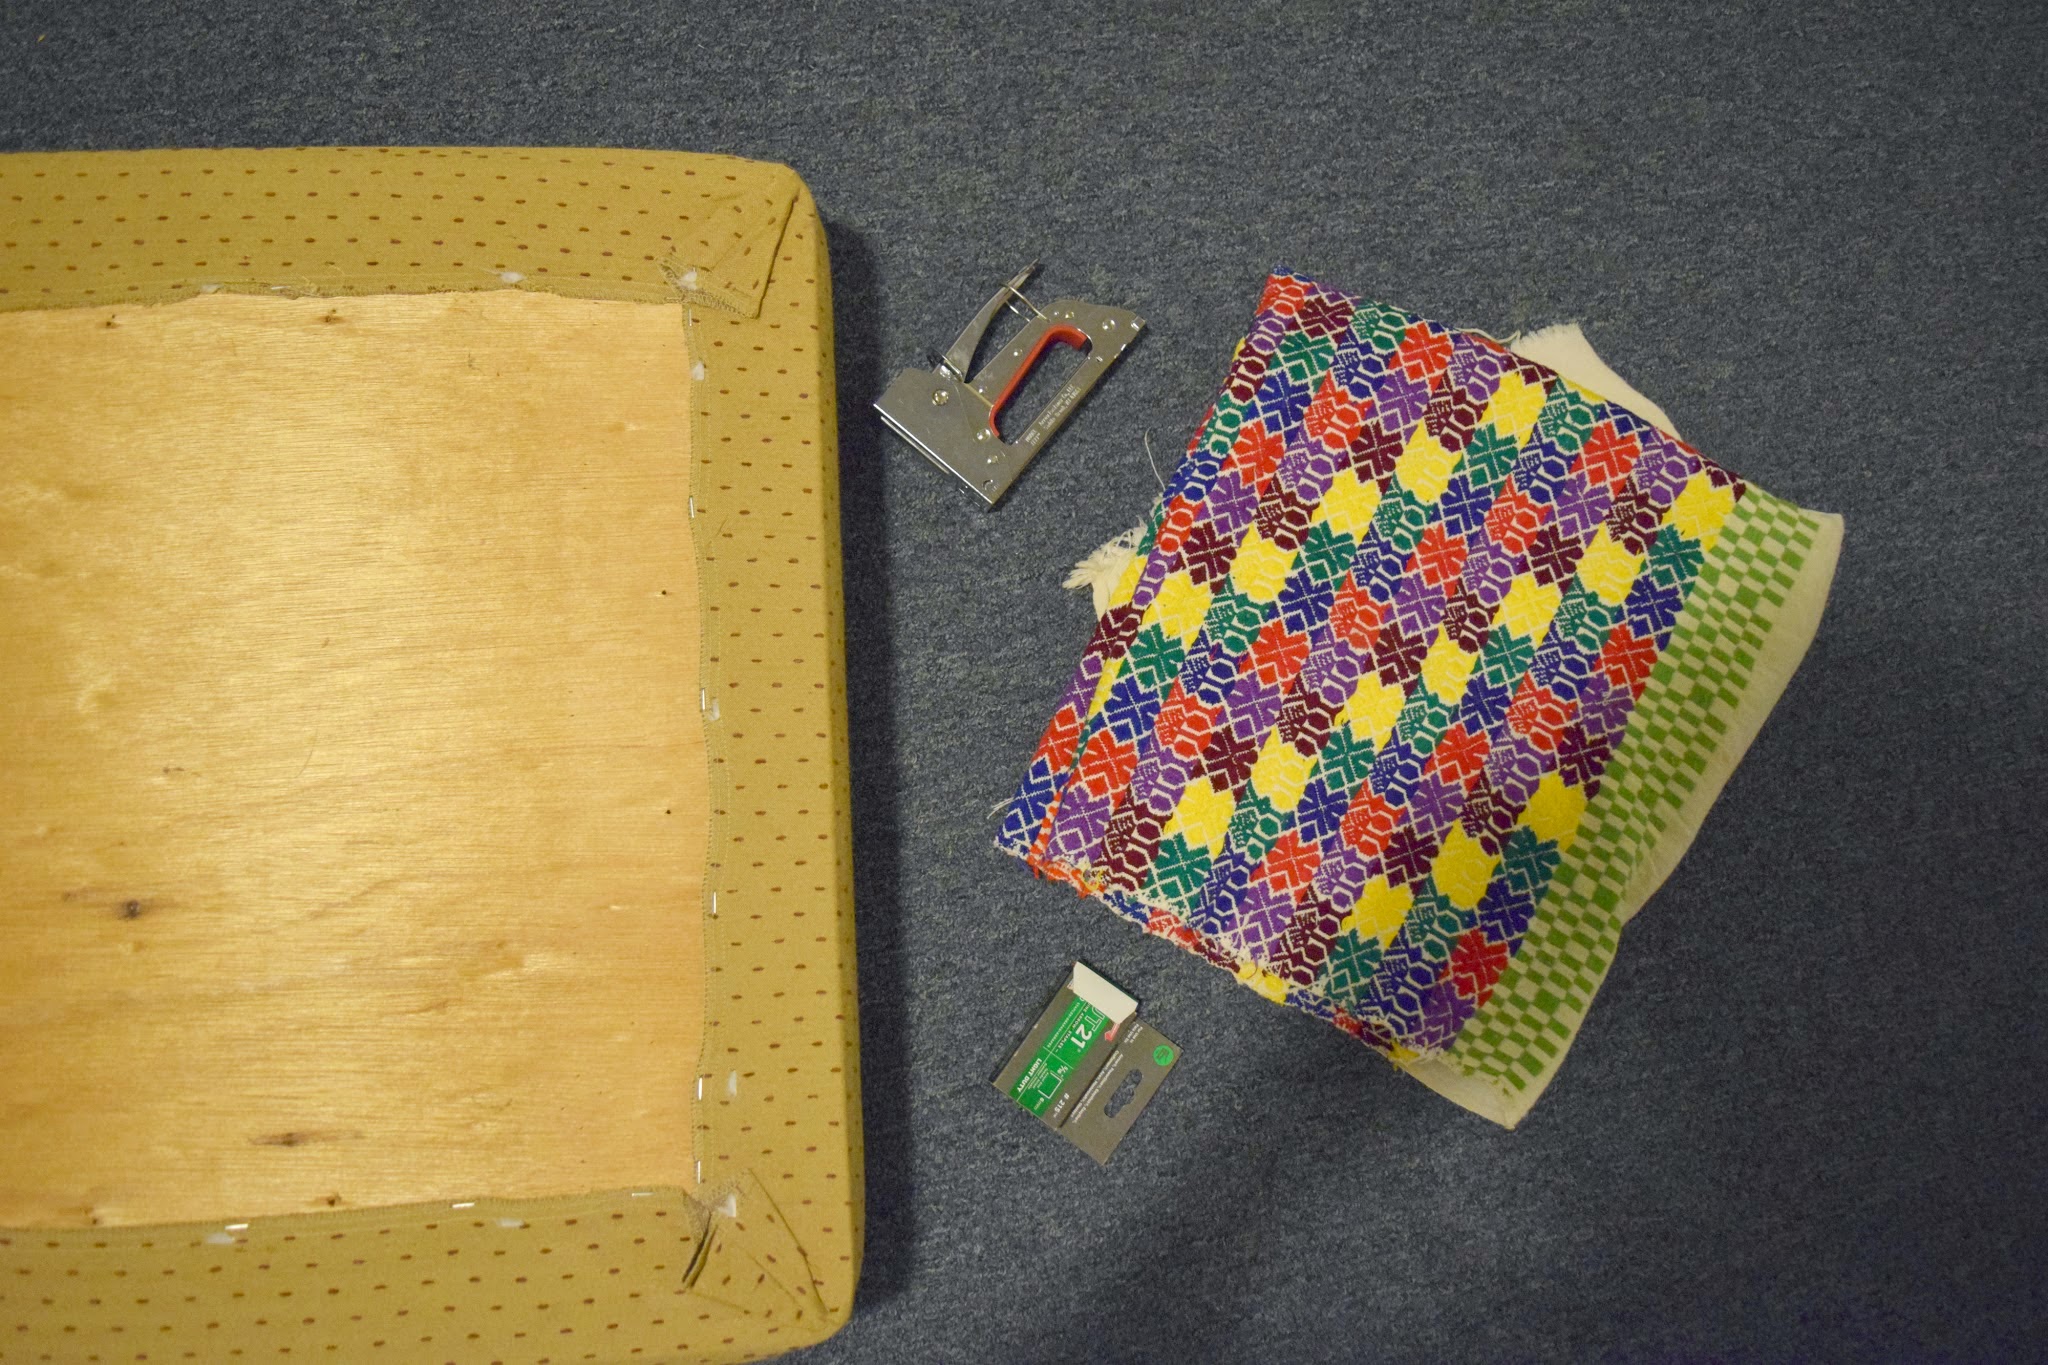
So, when my sister moved into her apartment last week and mentioned painting some of the furniture she had gotten from my mom or bought from the thrift store (thrifting is a family addiction), I immediately remembered this bench and got the urge to finish it. Instead of staining it like I had originally planned, I decided to make use of the black paint Kelly bought and paint the wooden base, and then re-cover the cushion with this beautiful bright embroidered vintage fabric I had found.

So after getting all the pieces together (I wish I had a full "before" picture), we set up shop in her basement and got to painting. She had bought a satin latex paint that the shop owner had assured her did not need a priming coat before using. It went on really easily and smoothly, and covered the base with one coat only. (Not to future painting self : Do not dry newly painted items on top of newspaper, unless you want it to get stuck into said new paint and have to be scratched off and repainted)


Then, I checked out THIS tutorial before I attempted to reupholster the cushion with my fabric. The corners were a bit, well, feisty. And I by no means did it correctly, so please do not judge! But for my first try at it, I'm pretty happy with the results : )


After the base dried, I reattached the cushion to it with the screws I had saved, and voila!

My sister kicked my butt in painting, and painted a curtain rod, metal plant stand, and corner table base.


 It's really amazing what a coat of paint can do for a piece of furniture, and now I have the painting bug! Hopefully this amateur little "how-to" will get you inspired to get working on that project you've been thinking about!

How To : Sew A Throw Pillow Cover

I've been working on little home projects this week, mainly just trying to tie things together in each room so that they look finished. One project I had been planning for a while was to change up the throw pillows in our living room by sewing new covers for them. Our pillows are all blue at the moment, which with a blue couch and two blue chairs is, well, a lot of blue. 
I had found this great vintage fabric while thrifting a couple months ago that I knew I wanted to use somewhere in the house, and this seemed like the perfect project to make use of it with. I knew the basics of making the envelope-backed pillow cover, but wanted to make sure I did it right so I followed THIS tutorial. The whole process is fairly simple, but I figured I would share it with you in case it inspires you to do the same! It's such an easy way to change up a room quickly and add a pop of color. Read after the jump for step by step instructions.

How To : Thrifting 101


As a regular thrift store shopper, I figured I'd share some tips with you on how to successfully navigate your local store! A large majority of my wardrobe comes from thrifting, which is great for a girl on a budget who still wants quality clothing. Hopefully it helps or inspires you to get out there and score some deals ; )

Related Posts Plugin for WordPress, Blogger...
 

OldSchoolSwank © All rights reserved · Theme by Blog Milk · Blogger